WHFB supports cloud-only, hybrid Azure AD, and on- premises deployments. The easiest method to deploy Windows Hello is in a cloud-only model since the Microsoft 365 organization is set up for it automatically. You’ll look at that scenario in this section.
During the out-of-box experience (OOBE), users are prompted for credentials. After providing an Azure AD credential, if the Intune enrollment policy has not been configured to block WHFB, the user will be prompted to enroll with their biometric data (such as a facial scan with a compatible camera) and set a PIN.
Devices will be joined to Azure AD during the initial sign-in process and WHFB will be enabled.
If your subscription supports it, Microsoft recommends creating a WHFB policy to configure settings for your organization:
1.Navigate to the Intune admin center (https://intune.microsoft.com or https://endpoint.microsoft.com).
2. Expand Devices and, under Device enrollment, select Enroll devices, as shown in Figure 5.7:
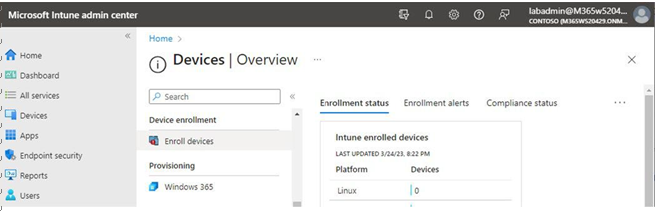
Figure 5.7 – Enroll devices
3. Select Windows enrollment and then choose Windows Hello for Business, as shown in Figure 5.8:
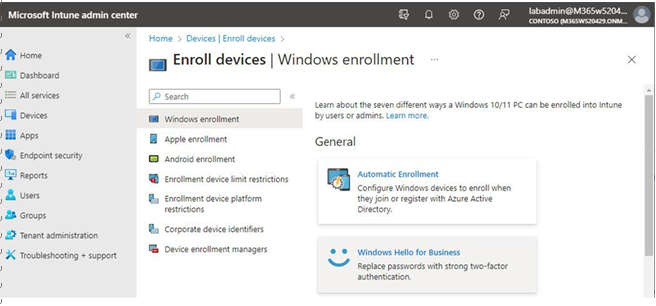
Figure 5.8 – Windows Hello for Business
4. Under Assigned to, select a group (if scoping the enrollment policy to a subset of users).
5. Configure the options for Windows Hello for Business (italics options are the default settings for the enrollment policy):
- Configure Windows Hello for Business: Enabled, Disabled, Not Configured
- Use a Trusted Platform Module (TPM): Required, Preferred
- Minimum PIN length: Configure a numeric value between 4 and 127.
- Maximum PIN length: Configure a numeric value between 4 and 127.
- Lowercase letters in PIN: Not allowed, Allowed, Required
- Uppercase letters in PIN: Not allowed, Allowed, Required
- Special characters in PIN: Not allowed, Allowed, Required
- PIN expiration (days): Never, a numeric value between 1 and 730
- Remember PIN history: Never, a numeric value between 1 and 50
- Allow biometric authentication: Yes, No
- Use enhanced anti-spoofing, when available: Not configured, Yes, No
- Allow phone sign-in: Yes, No
- Use security keys for sign-in: Not configured, Enabled, Disabled
6. Click Save to update the enrollment policy.
With the policy configured, new device enrollments (for the configured user group) will receive the Windows Hello for Business setup prompt to begin enrollment, as shown in Figure 5.9:
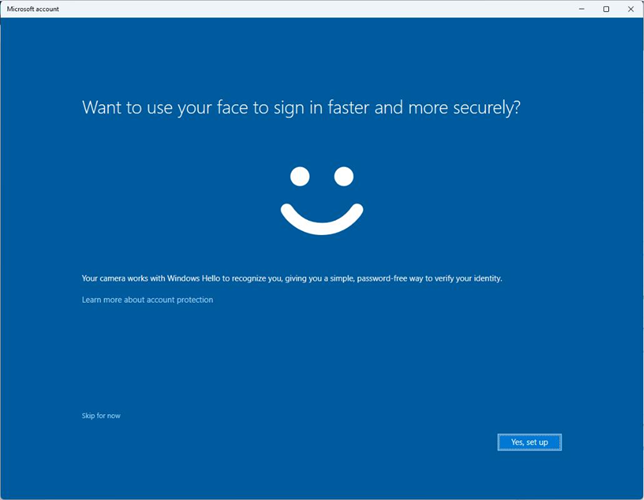
Figure 5.9 – Windows Hello for Business enrollment
After completing enrollment, users will be able to unlock and log in to devices using supported biometrics or their PIN.
Users that are already connected to Azure AD can also trigger the Windows Hello setup wizard, by either navigating to the Account protection blade in the Windows Settings app or by pressing Win+R and entering ms-cxh://nthaad in the Run dialog box.
Next, you’ll look at configuring Microsoft Authenticator for passwordless sign-in.
Configuring Microsoft Authenticator
The Microsoft Authenticator app provides a convenient way to sign in to any Azure AD account with a supported mobile device. Before users can sign in using the method, however, it will need to be enabled in your tenant through the authentication policy.
Leave a Reply